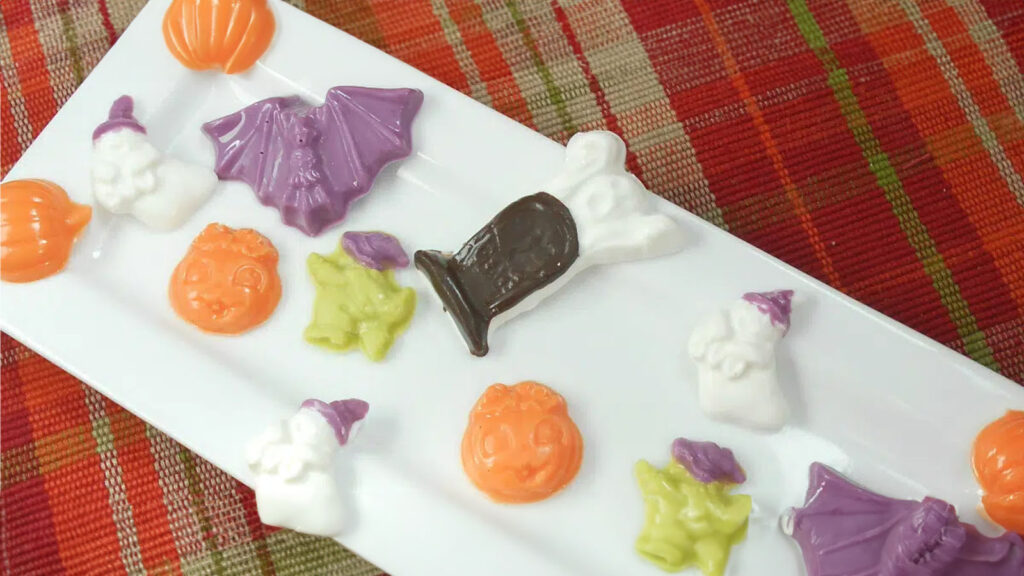
This is a small sample of what we have. From ghosts and bats to witches and pumpkins, to jack-o-lanterns and tombstones and everything in between.
Not only do we have the molds, but we also have all the chocolate and confectioner’s coatings you could ever want. We actually have the largest selection of chocolate in Northern Utah with over 60 different varieties.
There are so many colors to choose from and if we don’t have the exact color you want, just buy white and color it with some powdered food coloring. WARNING: Do not use gel, paste, or liquid food colorings in chocolate or confectioner’s coatings because it will cause them to seize.
Okay, I know what you’re thinking. I’ve mentioned chocolate and confectioner’s coatings. What’s the difference? Well, we all know what chocolate is. Yummy deliciousness made with cocoa butter and cocoa solids. White chocolate is made with just cocoa butter. Confectioner’s coatings (often referred to as almond bark) are kind of a whole different game. They act like and sometimes taste like chocolate, but they have no cocoa butter or cocoa solids. They are usually made with palm kernel oil and artificial flavors.
Both have a place and a purpose.
For these particular molds, I chose to use confectioner’s coatings. I’ve found that they release from the molds a lot easier than chocolate.
How to make these cute Halloween candies:
Melt your choice of confectioner’s coating or chocolate in a microwave-safe bowl in the microwave at 30-second intervals until completely melted.
Spoon coating into a small piping bag and clip a small piece off the end of the bag.
Pipe the coating into the cavities of the chocolate mold.
Gently tap the mold on the countertop to even out the coating and fill the cavity completely. This also helps to release air bubbles that might be in the coating.
Place in the fridge to harden completely.
When completely hardened, hold the mold upside down and gently tap one edge on the countertop. The candies should fall right out.
If you want to go the extra mile and make your candies with multiple colors, use a small, clean paint brush and brush the coating into the spots you want to be a different color, then fill the rest of the mold with the main color as described above.